
Setting up Pelican to Automatically Deploy to GitHub Pages
Posted
on
in
Programming
• 692 words
• 4 minute read
Tags:
Pelican, Travis CI, GitHub, GitHub Pages
This article is out of date, and may contain outdated information.
Since writing this article, I have made a few major shifts in my personal website infrastructure. I migrated from GitHub to GitLab and subsequently from GitLab to sourcehut. Then I migrated from Pelican to Hugo and hosted my website on a Linode VPS for a while before migrating back to GitHub and GitHub Pages.
I recently converted my site from WordPress to a statically generated Pelican site hosted on GitHub Pages. One of the most difficult parts of the transition was setting it up to automatically deploy to GitHub Pages. In this article, I will describe how I set this up.
Overview
I am hosting the source code for my website publicly on GitHub at
github.com/sumnerevans/sumnerevans.com
on the source branch. I am then using Travis CI to build my site on every push
to source and automatically deploy it to the master branch of my
sumnerevans.com repository.
Prerequisites
- I assume that you have basic competency using Git and GitHub. I do not give you the exact Git commands to run since it can vary depending on how you plan to use it.
- I assume that you already have a Pelican site set up. If you don’t, the
Pelican Documentation
is really good. I recommend using the
pelican-quickstartcommand to create your site. - I assume that you have basic competency in Makefiles.
Setting up GitHub
You can find up-to-date instructions on how to create a GitHub Pages site
here. Once you have set up your repository, you
need to create a new branch. I called it source but you can name it whatever
you want (for the sake of the rest of the article, I’ll assume you chose to name
it source). After you’ve created the source branch, push it to GitHub.
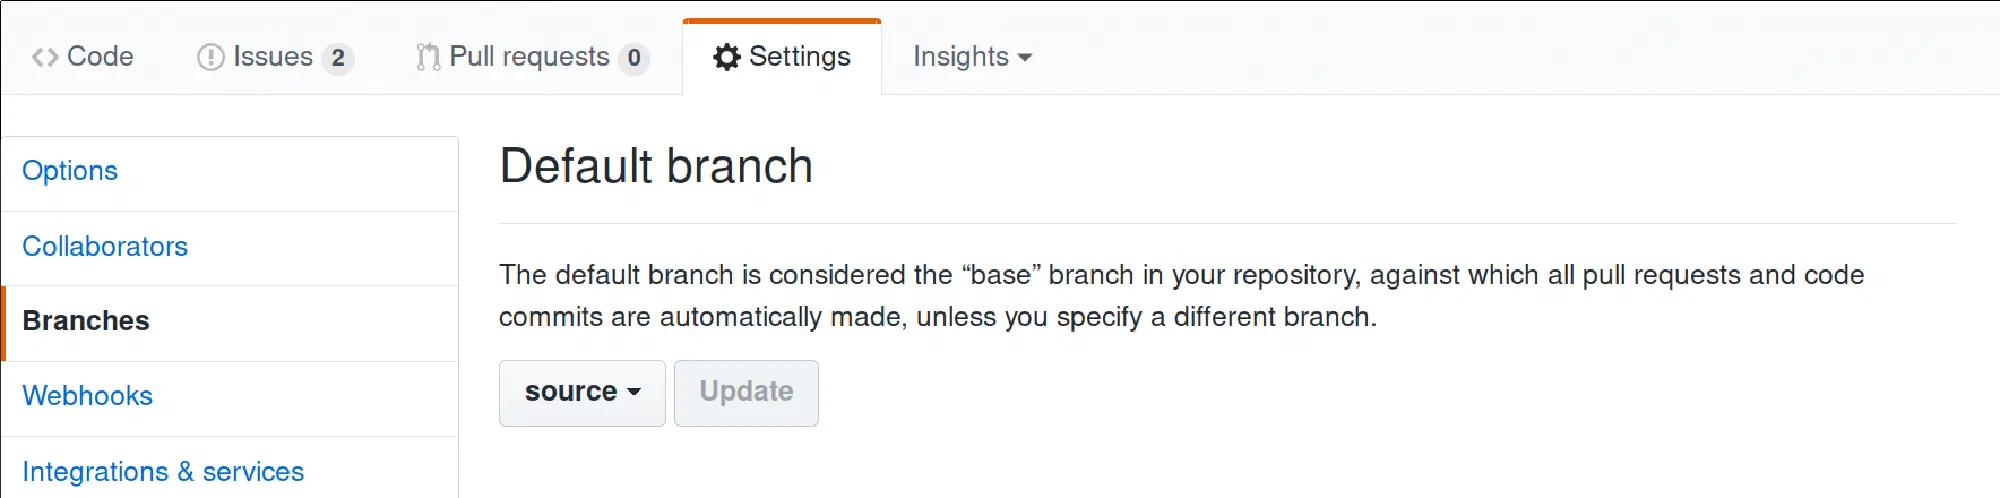
Next, go to the Settings page for your GitHub Pages repository and click on “Branches”. From the Default Branch dropdown, select “source”.
Later on, we will be setting up Travis CI to use
GitHub Pages Deployment.
You will need to create a
Personal Access Token
with public_repo access for this. Go ahead and create it now and save the
token for use in the “Set up Travis CI” step.
Setting up Pelican
Now you need to add all of your Pelican source code to the source branch and
commit it. If you used the pelican-quickstart command to create your site, you
should have a Makefile. If not, you can look at the one for this site:
sumnerevans.com/Makefile.
Ensure that the Makefile has a publish (or similar) command which outputs
the built site to an output directory.
Also, if you do not already have a requirements.txt file in the root of your
repository, add one with the following content:
pelican
Markdown
beautifulsoup4
Setting up Travis CI
If you have not already done so, sign up for Travis CI using your GitHub account at travis-ci.org (it’s free for Open Source projects, so if you’ve made your site source code public, it will be free.)
Once you’re signed in to Travis CI, and all of your GitHub repositories have been synchronised, go to your Travis CI profile page and enable your GitHub Pages repository.

Now, go to the Travis CI settings for your repository and enable “Build only if .travis.yml is present” and “Build on branch updates”.
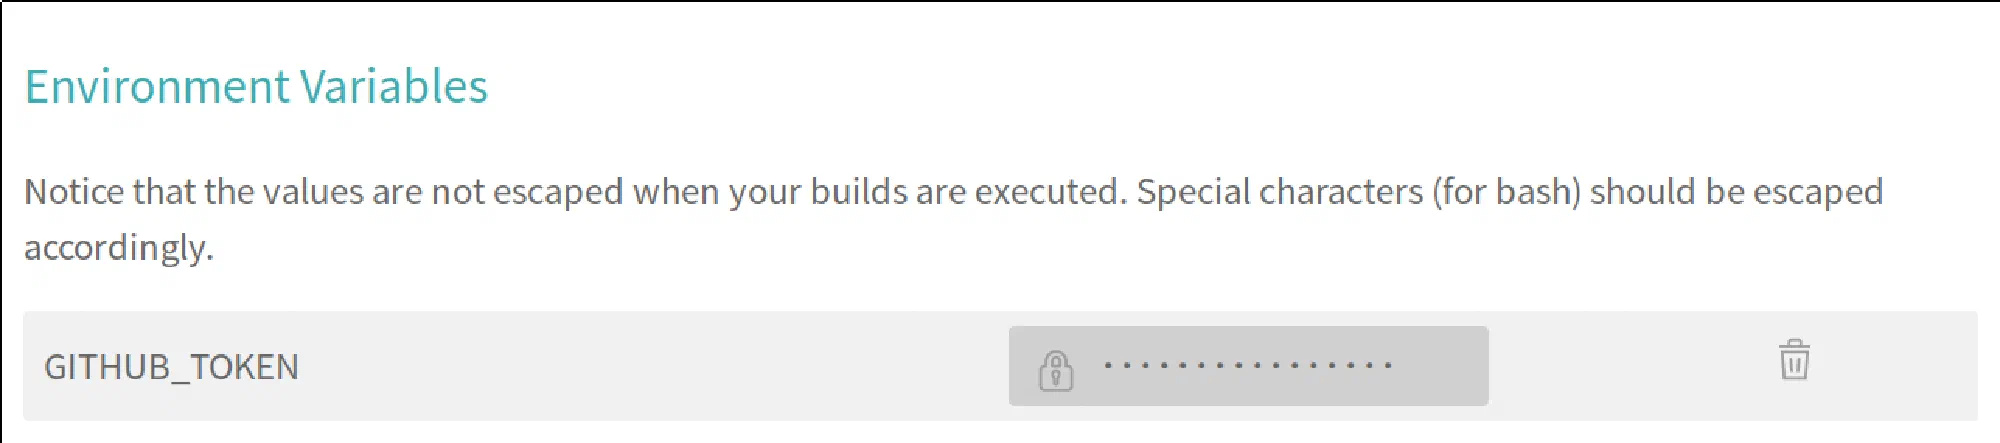
Down in the Environment Variables, add an environment variable with name
GITHUB_TOKEN and value of the Personal Access Token that you generated
earlier. Make sure that you have “Display value in build log” disabled.
Now you need to configure Travis CI. To do this, create a .travis.yml file in
the root of your repository and add the following to it:
language: python
python:
  - 3.6
cache: pip
install:
  - pip install --upgrade pip
  - pip install -r requirements.txt
script:
  - make publish
deploy:
  provider: pages
  skip_cleanup: true
  github_token: $GITHUB_TOKEN
  local_dir: output
  target_branch: master
  on:
    branch: source
Conclusion
You should now have a Pelican site that automatically deploys to GitHub Pages! Go ahead and edit or create a post to test it out.